Make 4 Amazing Freezer Friendly Breakfast Sandwiches!
Okay, so listen, mornings in my house are a total whirlwind! Between wrangling kids, trying to find my keys (again!), and just generally getting everyone out the door, breakfast is usually a total afterthought. That’s where these amazing freezer friendly breakfast sandwiches come in! Seriously, they’re a lifesaver. I’ve been making these for years – ever since my kids were little and I needed something quick and easy before school. And trust me, I’ve perfected the recipe over time. They’re quick to assemble, freeze like a dream, and reheat perfectly. You can customize them however you like, but the basic recipe is a total winner. They’re a game changer, I swear!
I’m not kidding when I say this is the perfect solution for busy mornings. No more skipping breakfast or grabbing something unhealthy on the go. These sandwiches are packed with protein and keep you full all morning. So, get ready to say goodbye to breakfast stress and hello to delicious, easy mornings! This recipe has made my life so much easier.
Ingredients for Delicious Freezer Friendly Breakfast Sandwiches
Alright, let’s get down to the good stuff! You won’t believe how simple the ingredients are for these breakfast wonders. It’s all about keeping it easy, people! Here’s what you’ll need to whip up your own batch of morning magic:
English Muffins
You’ll need a pack of your favorite English muffins. I usually go for the classic, split-top kind. You know, the ones with all those nooks and crannies? Those are the best for holding all the delicious fillings! Grab about 4 of them.
Sausage Patties
Get yourself 4 cooked sausage patties. You can totally use your favorite kind of sausage, whether it’s pork, turkey, or even a plant-based option. Just make sure they’re already cooked and ready to go!
Eggs
For the egg part, you’ll need 4 large eggs. I usually crack these into a bowl and scramble them up real good. More on that later!
Cheese Slices
And finally, for that melty, cheesy goodness, you’ll need 4 slices of your favorite cheese. Cheddar is my go-to, but feel free to experiment! Pepper jack, provolone, whatever makes you happy!
Step-by-Step Instructions: How to Make Freezer Friendly Breakfast Sandwiches
Alright, now for the fun part: putting these freezer friendly breakfast sandwiches together! Don’t worry, it’s super easy. Follow these steps, and you’ll be on your way to breakfast bliss in no time. I promise!
Cooking the Sausage Patties
Okay, first things first: cook those sausage patties! If you bought pre-cooked ones (like I often do!), you can skip ahead. Otherwise, follow the package instructions. Usually, it’s just a matter of cooking them in a skillet over medium heat for about 5-7 minutes, flipping them halfway through. You want them to be cooked all the way through and nice and browned. Careful, it splatters!
Scrambling the Eggs
Next up: the eggs! Crack those 4 eggs into a bowl. I always add a splash of milk or cream – it makes them extra fluffy. Then, whisk them up really well. Get those yolks and whites all mixed together. Heat a little butter or cooking spray in a non-stick skillet over medium-low heat. Pour in your egg mixture and let it cook for a minute or two, then gently push the cooked egg toward the center of the pan. Keep doing this until the eggs are set but still slightly moist. Don’t overcook them! You want them soft and fluffy.
Toasting the English Muffins
While the eggs are cooking, toast your English muffins. I like them lightly toasted, just enough to get a little crispy on the outside. You can use a toaster or a toaster oven, whatever you’ve got. You want them to be sturdy enough to hold all the fillings without falling apart.
Assembling the Freezer Friendly Breakfast Sandwiches
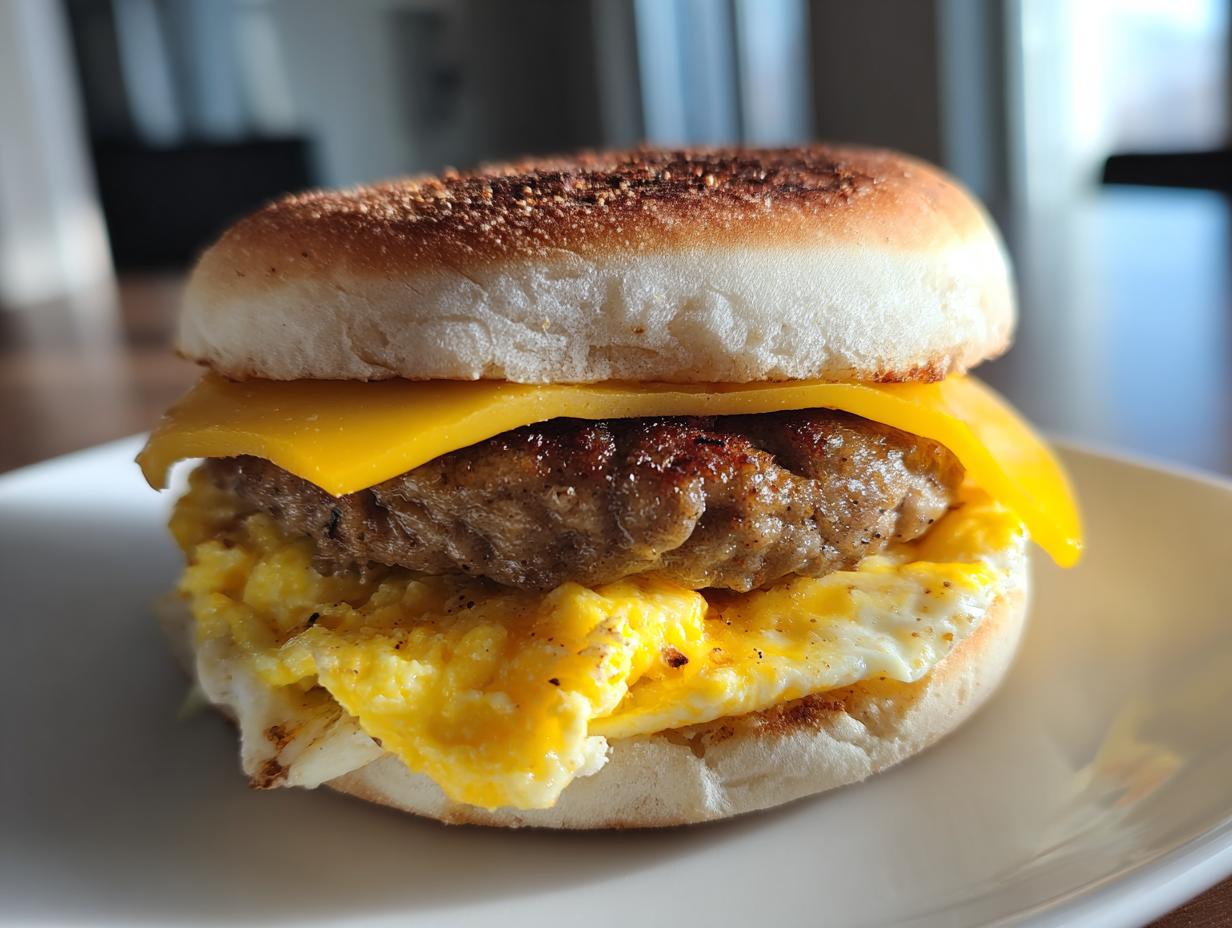
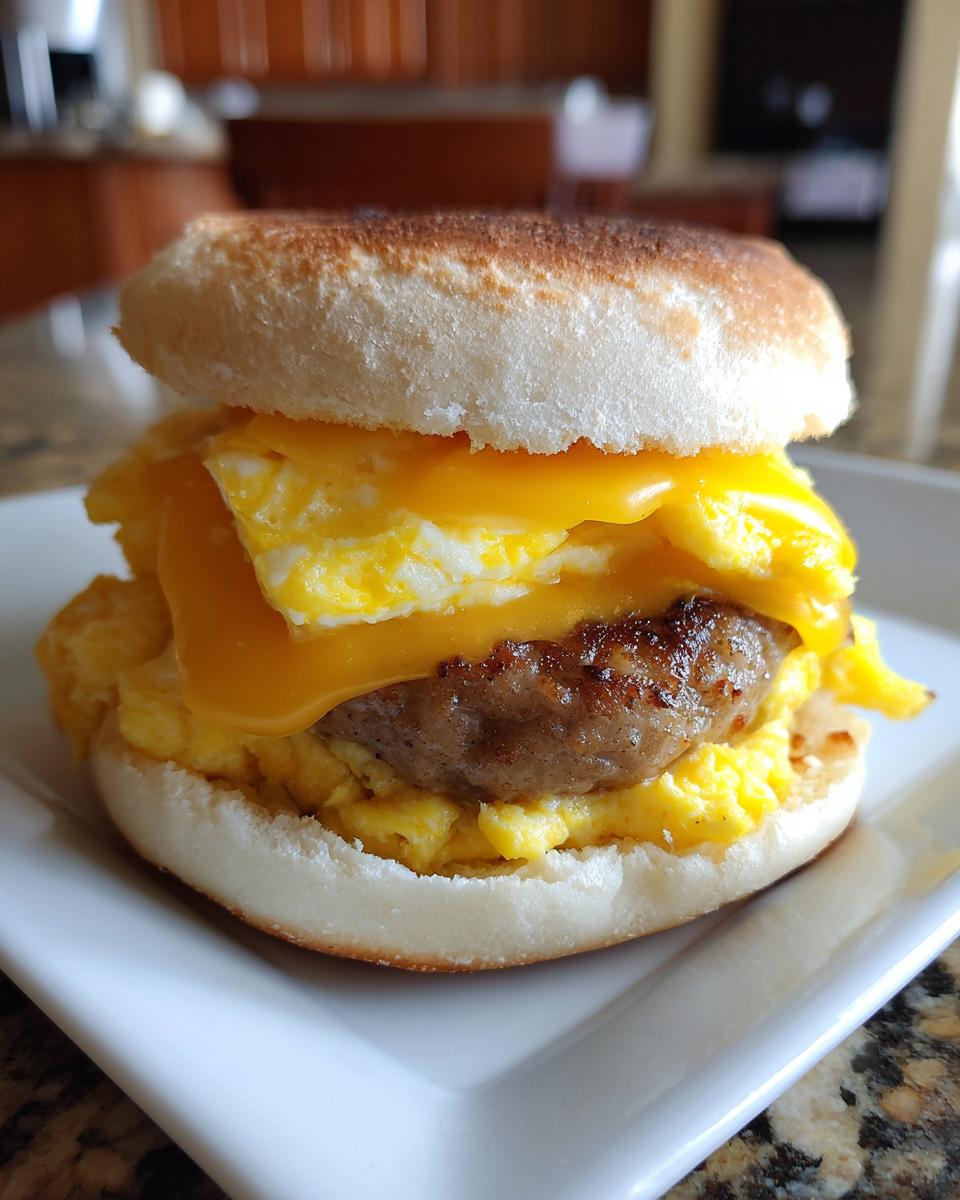
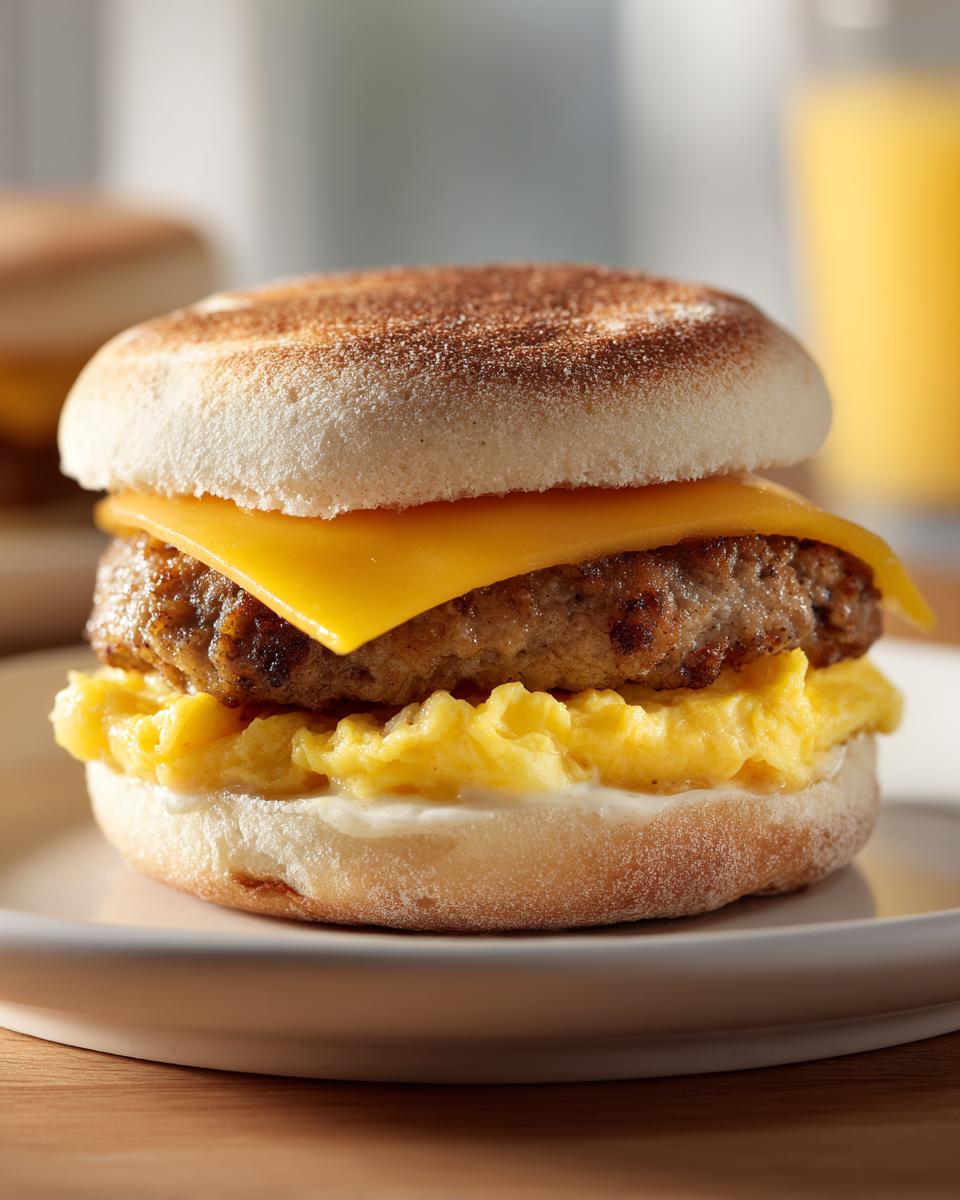
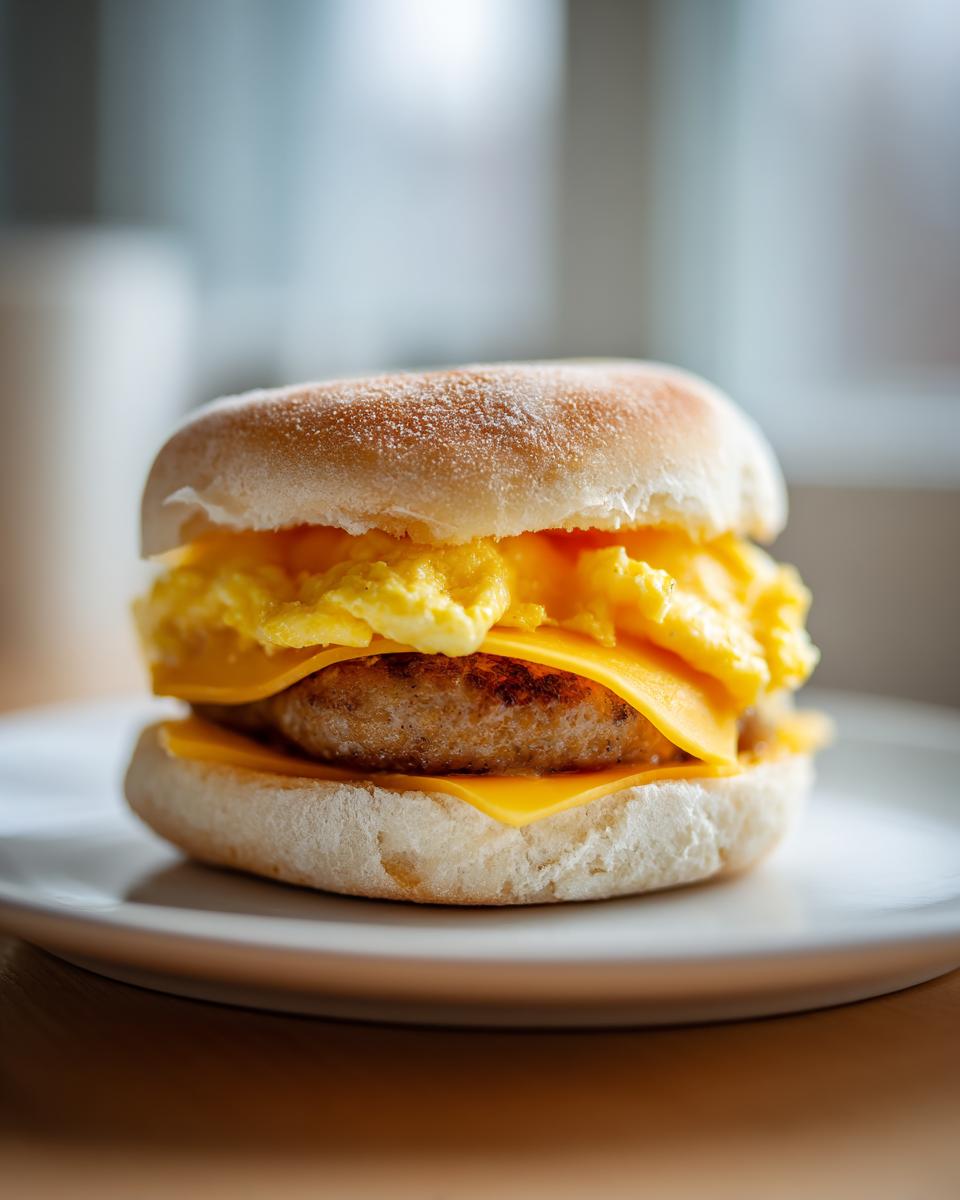
Now, let’s build those sandwiches! Lay out your toasted English muffin halves. On the bottom half, place a sausage patty, then some scrambled eggs, and finally, a slice of cheese. Top it all off with the other half of the English muffin. See? Easy peasy!
Wrapping and Freezing for Later
This is super important for keeping those sandwiches fresh! Once your sandwiches are assembled, wrap each one tightly in aluminum foil. Make sure there aren’t any gaps or openings – this helps prevent freezer burn. I like to label them with the date too, so I know when I made them. Then, pop them in the freezer! They’ll last for about 2-3 months.
Reheating Your Freezer Friendly Breakfast Sandwiches
When you’re ready to eat, you’ve got a couple of options. For the microwave, unwrap the sandwich and microwave it for about 1-2 minutes, or until heated through. For the oven, preheat it to 350°F (175°C), wrap the sandwich in foil, and bake for about 15-20 minutes. Check to make sure the inside is warm. You can also toast a little longer for extra crispiness.
Why You’ll Love These Freezer Friendly Breakfast Sandwiches
Honestly, these freezer friendly breakfast sandwiches are the best! Here’s why you’ll become obsessed, too:
- They’re a total time-saver! Seriously, no more rushing around in the morning.
- Customizable! You can totally swap out ingredients to suit your taste.
- Perfect for meal prep! Make a big batch on the weekend and enjoy them all week.
- Kid-approved! My kids can’t get enough of these, and that’s saying something!
- Delicious! They taste amazing, even after being frozen and reheated. Trust me!
Tips for Success with Your Freezer Friendly Breakfast Sandwiches
Okay, so you’ve got your sandwiches assembled and ready to go? Awesome! But to make sure they’re *perfect* every single time, I’ve got a few pro tips for you. These are the little things that make a big difference, trust me. These are secrets for the best freezer friendly breakfast sandwiches!
Preventing Freezer Burn
Freezer burn is the enemy! It can totally ruin your sandwiches, making them dry and icky. But don’t worry, it’s super easy to avoid. The key? Wrapping them *tightly*. I mean, really tight! Make sure there are absolutely no air pockets. Use good quality foil, and wrap each sandwich individually, making sure to seal all the edges. You can even double-wrap them for extra protection. I also like to put them in a freezer bag after wrapping, just to be extra careful. You want them to stay nice and fresh!
Achieving the Perfect Reheat
Reheating is where the magic happens! To get that perfect, melty, delicious sandwich, it’s all about the reheat. If you’re microwaving, don’t overdo it. Start with 60 seconds and check. You can always add more time, but you can’t undo overcooking! For the oven, keep an eye on them. You want them heated all the way through, but not dried out. A little extra time in the toaster oven crisps up the muffin nicely!
Variations: Customizing Your Freezer Friendly Breakfast Sandwiches
Okay, so the best part about these freezer friendly breakfast sandwiches? You can totally make them your own! Don’t be afraid to get creative and switch things up. Here are some ideas to get you started! Seriously, the possibilities are endless.
Different Meats
Not a fan of sausage? No problem! Try bacon – cook it until crispy and crumble it on. Or, use some sliced ham. Leftover grilled chicken or even a veggie sausage patty would be amazing too. It’s really all up to you and what you like!
Cheese Choices
Cheddar is great, but don’t stop there! Try a slice of Swiss for a nutty flavor, or go for pepper jack if you like a little heat. Provolone or Monterey Jack are also fantastic options. Just pick your favorite and go for it!
Adding Vegetables
Want to sneak in some veggies? Go for it! Sauté some spinach or bell peppers and onions before assembling. Or, add a slice of tomato. Just remember, if you use raw veggies, they might get a little soggy after freezing, so cook them first for the best results.
Storage & Reheating Instructions for Freezer Friendly Breakfast Sandwiches
So, you’ve made a big batch of these amazing freezer friendly breakfast sandwiches, and you’re wondering how to keep them perfect? Easy peasy! After assembling, wrapping, and freezing, they’ll be good for about 2-3 months. Just make sure to keep them sealed up tight! When you’re ready to eat, follow the reheating instructions above. Simple as that! They’re great for a quick breakfast, lunch, or even a late-night snack. Yum!
Frequently Asked Questions about Freezer Friendly Breakfast Sandwiches
Okay, so I know you probably have some questions, and that’s totally cool! I get it. Here are some of the most common questions I get asked about these freezer friendly breakfast sandwiches. Hopefully, this answers everything for you!
Can I use different types of bread?
Absolutely! While I love English muffins, feel free to experiment with different breads. Bagels work great, as do croissants (though they might not freeze quite as well). You could even try using biscuit halves. Just make sure whatever bread you choose is sturdy enough to hold all those delicious fillings! I’ve found that pre-sliced sandwich thins also work great if you’re watching your carbs!
How long do these sandwiches last in the freezer?
If you wrap them up really well (like I said, no air pockets!), these sandwiches will keep in the freezer for about 2-3 months. After that, they’re still safe to eat, but the quality might start to decline a bit. I always try to eat mine within that timeframe because, honestly, they’re so good, they never last that long in my house!
Can I add raw vegetables before freezing?
Hmm, that’s a good question! I wouldn’t recommend it. Raw veggies like tomatoes or lettuce tend to get a little soggy and sad after freezing and thawing. If you *really* want to add veggies, I suggest sautéing them first, like spinach, bell peppers, or onions. This helps them hold up better. Or, you can just add fresh veggies right before you eat them, after reheating. That way, they’ll be nice and crisp!
What if I don’t have foil?
No foil? No problem! You can definitely use other methods for wrapping your sandwiches. Freezer-safe plastic wrap works great – just make sure to wrap them tightly. Alternatively, you can use freezer bags, but I’d still recommend wrapping each sandwich individually first, to prevent freezer burn. You can even use reusable silicone food wraps! Just make sure everything is sealed up tight to keep those sandwiches fresh and delicious.
Estimated Nutritional Information for Freezer Friendly Breakfast Sandwiches
Okay, so I’m not a nutritionist, and this is just an estimate, but here’s what you can generally expect for one of these delicious freezer friendly breakfast sandwiches. Remember, the exact numbers will vary depending on the brands and ingredients you use. But this should give you a good idea!
Expect around 400 calories, 25g of fat, 20g of protein, and 30g of carbs. There’s also about 5g of sugar and 600mg of sodium, and I’d guess about 3g of fiber. I’m telling you, it’s a pretty balanced way to start the day!
If you’re looking for more recipe inspiration, check out my Pinterest page!
Conclusion
So, there you have it! My go-to recipe for the best freezer friendly breakfast sandwiches. I hope you love them as much as I do! Now, go make some and tell me what you think in the comments! Share your creations!
PrintMake 4 Amazing Freezer Friendly Breakfast Sandwiches!

Make-ahead breakfast sandwiches perfect for busy mornings. Assemble, freeze, and enjoy!
- Prep Time: 20 minutes
- Cook Time: 15 minutes
- Total Time: 35 minutes
- Yield: 4 servings
- Category: Breakfast
- Method: Baking
- Cuisine: American
- Diet: Halal
Ingredients
- English muffins
- Sausage patties
- Eggs
- Cheese slices
Instructions
- Cook sausage patties.
- Scramble eggs.
- Toast English muffins.
- Assemble sandwiches: muffin, sausage, egg, cheese, muffin.
- Wrap individually in foil.
- Freeze.
- To reheat: microwave or oven.
Notes
- Customize with your favorite fillings.
- Wrap tightly to prevent freezer burn.
- Reheat from frozen for best results.
Nutrition
- Serving Size: 1 sandwich
- Calories: 400
- Sugar: 5g
- Sodium: 600mg
- Fat: 25g
- Saturated Fat: 10g
- Unsaturated Fat: 15g
- Trans Fat: 0g
- Carbohydrates: 30g
- Fiber: 3g
- Protein: 20g
- Cholesterol: 200mg